Salt for Salt Room: A Complete Home Build Guide
Choosing the right salt for salt room projects decides how your space looks, feels, and lasts. Many homeowners want a calm corner where warm light glows through pink crystals. However, most guides skip the practical details. This guide explains how to build a salt room at home, from planning to finishing touches. First, you will learn which materials work best. Then you will follow clear steps to create a calm, dry, and beautiful space.
Himalayan Pink Salt supplies the crystals, bricks, and tiles that many home salt cave builds rely on. Moreover, this article covers the Himalayan salt bed idea, ventilation basics, and upkeep. Read on, and you will finish with a complete plan for your own space.
Table of Contents
What Is a Home Salt Cave and Why Build One?
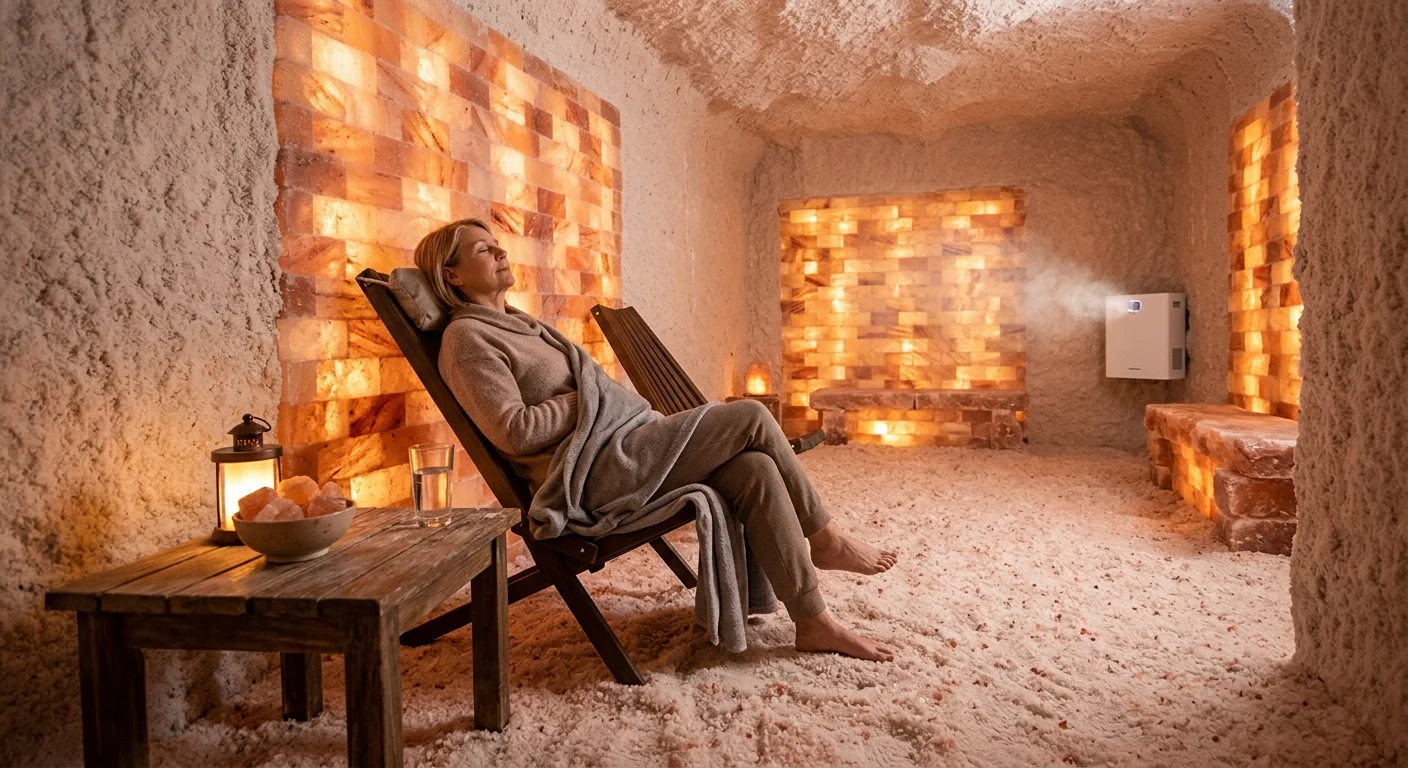
A home salt cave is a small room lined with salt surfaces. Builders usually cover the walls, ceiling, or floor with Himalayan salt crystals, bricks, or tiles. As a result, the room glows softly when lights shine behind the salt. Many people use these spaces for reading, meditation, or quiet time.
Spas and wellness studios also run commercial salt caves. However, you can create a smaller version at home with a clear plan. For example, a spare bedroom, basement corner, or converted closet works well. Because salt attracts moisture, the room needs careful preparation. Therefore, planning matters more than decoration.
A home salt cave offers a relaxing atmosphere, not a medical treatment. Also, speak with your doctor first if you have a breathing condition. Then you can enjoy your space with confidence.
Home Salt Cave vs. Commercial Salt Therapy Room
A commercial salt therapy room often uses a halogenerator and large amounts of loose salt. In contrast, a home salt cave focuses on atmosphere and décor. Furthermore, home builds cost less and need no special equipment. Consequently, most homeowners start with salt for salt room walls, such as bricks and tiles.
Choosing the Right Salt for Salt Room Walls, Floors, and Lighting
The best salt for salt room builds depends on where you place it. For instance, walls need flat, stackable pieces, while floors need loose crystals. Moreover, lighting needs translucent pieces so the glow shines through. Therefore, match each material to its job before you buy.
Salt Bricks and Tiles for Feature Walls
Salt bricks stack like masonry and create a bold feature wall. Tiles, meanwhile, cover large areas faster and weigh less. You can compare Himalayan salt bricks and tiles for wall cladding by size and color. Additionally, choose pieces with even thickness so the wall looks clean. Authentic Himalayan salt shows natural variation in pink, orange, and white tones.
Loose Crystals for Floors
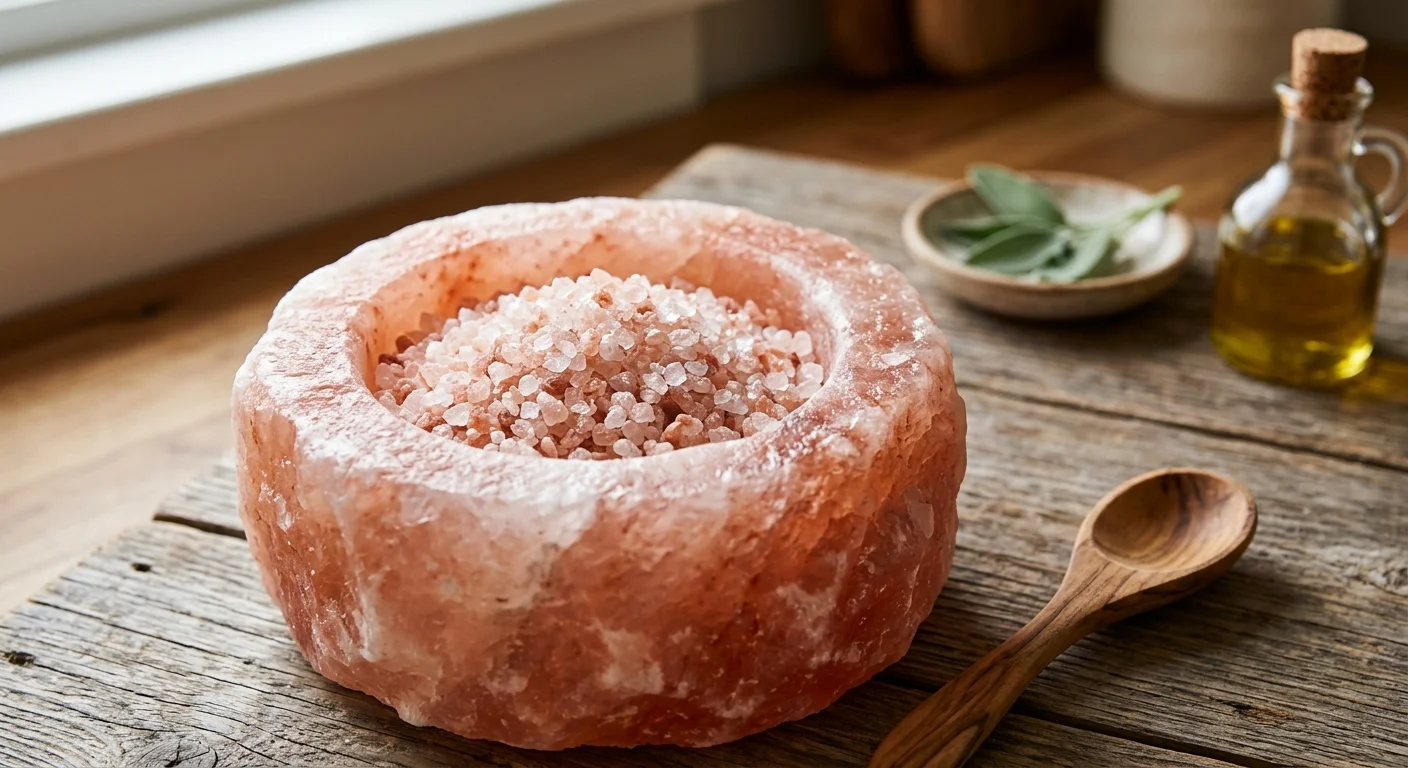
Loose crystals form the floor layer in most salt caves. Coarse grains look natural and feel soft underfoot. However, fine powder can pack down and drift into the air. Therefore, choose coarse grains for the best salt for salt room floors.
Salt Lamps and Decorative Salt for Lighting
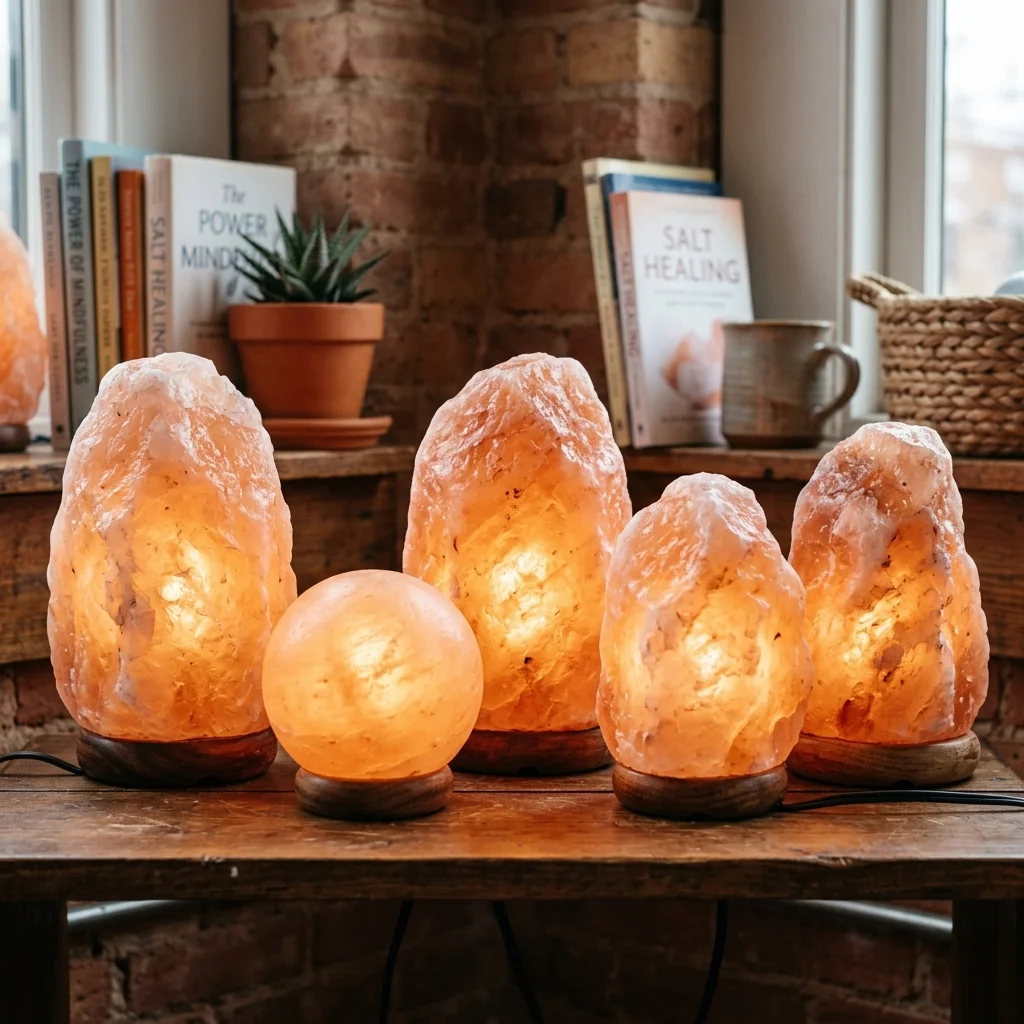
Lamps add warm light without heavy construction. Place a few natural salt lamps for ambient room lighting near seating and shelves. In addition, they work as Himalayan pink salt decor for corners and side tables. Meanwhile, a Tibetan salt block as a natural display accent adds height and texture. Finally, keep cords away from loose salt and damp areas.
Materials at a Glance
This table compares each material by use and benefit.
| Material | Best For | Key Advantages |
|---|---|---|
| Salt bricks | Feature walls | Strong structure and a bold, natural look |
| Salt tiles | Large wall areas | Lighter weight and faster installation |
| Coarse loose crystals | Floors and a salt bed | Soft texture and easy top-ups |
| Salt lamps | Accent lighting | Warm glow and flexible placement |
How to Build a Salt Room: Plan Your Space First
Before you buy anything, measure the room and check its conditions. First, choose a space with solid, dry walls and floors. Next, avoid rooms near leaks, laundry, or steamy bathrooms. Because salt absorbs humidity, a damp room will ruin your work. Then list every surface and estimate the salt for salt room coverage you need.
Set Your Size and Budget
Small rooms cost less and finish faster. For example, one feature wall plus a loose floor gives a strong result. Then you can expand later with more tiles or lamps. Also, order about 10 percent extra material for cuts and breakage.
Gather Your Tools
You need a few basics for this project. These include moisture barrier sheeting, waterproof adhesive, a level, gloves, and a rubber mallet. Likewise, buy a hygrometer to track humidity. Finally, bring a dust mask for cutting and sweeping.
How to Make a Salt Room: Step-by-Step Guide
This section walks you through six clear steps. Follow them in order for the best result.
Step 1: Prepare and Seal the Room
Dry the Room Completely
Remove old fixtures and let the room dry fully. Moreover, fix any leaks before you start.
Add a Moisture Barrier
Cover the walls and floor with a moisture barrier. As a result, the salt stays dry and your walls stay protected.
Step 2: Install the Salt for Salt Room Walls
Start at the bottom corner and work upward. Spread adhesive on the barrier and press each brick or tile firmly. Then check each row with a level. Meanwhile, leave small gaps for lighting strips if you want a glow.
Step 3: Lay the Floor Crystals
Choose the Right Depth
Pour coarse crystals across the floor in a shallow, even layer. A thin layer feels comfortable and stays easy to clean. Next, rake the salt smooth.
Keep the Edges Tidy
Add a low border so crystals stay in place. Consequently, the rest of your home stays clean.
Step 4: Add Soft Lighting
Place lights behind or beside the salt wall. Warm bulbs bring out the pink tones. Furthermore, use dimmers so you can adjust the mood. Always keep wiring away from damp salt.
Step 5: Add Seating and Accents
Choose seating with easy-clean covers. Then add soft cushions, an entrance rug, and a few decorative salt pieces. However, avoid cluttering the floor, because loose crystals need room to settle.
Step 6: Test Humidity and Airflow
Place a hygrometer in the room and watch it for a week. If humidity climbs, add airflow or a dehumidifier. Consequently, your salt stays dry and your room stays fresh.
How to Build a Salt Therapy Room Safely
People who ask how to build a salt therapy room often focus on salt alone. However, airflow and humidity matter just as much. Any salt for salt room use pulls moisture from the air, so wet rooms cause clumping and corrosion. Therefore, follow EPA guidance on controlling indoor moisture to keep humidity in check. The agency suggests staying below 60 percent, ideally between 30 and 50 percent.
Ventilation Basics
Install a small exhaust fan or open a window after each session. Moreover, avoid sealing the room completely. Fresh air keeps the space comfortable and prevents stale smells.
Electrical and Lighting Safety
Use sealed fixtures and low-heat bulbs near salt. Because moisture and electricity do not mix, hire a licensed electrician for any new wiring.
Himalayan Salt Bed: A Soft Floor for Your Home Salt Cave
A Himalayan salt bed is a shallow layer of loose crystals across the floor. It gives your home salt cave a natural, beach-like feel. Moreover, it makes barefoot sitting more comfortable. Choose coarse, clean crystals for the best look. Then rake the surface weekly to keep it even. Likewise, place a low chair or mat on the bed for extra comfort.
How to Maintain Your Salt Room
Maintenance takes only a few minutes each week. First, wipe dust from the walls with a dry cloth. Second, rake the floor and remove hardened clumps. Third, check the hygrometer and adjust airflow. In addition, keep every surface dry at all times. Replace damp crystals right away so problems do not spread.
After a session, many people unwind with Himalayan bath salts for a relaxing post-session soak. Meanwhile, keep your kitchen supply separate from your build materials. If you cook with Himalayan salt, browse edible Himalayan salt for everyday cooking instead.
Salt for Salt Room Projects in Spas and Studios
Spas, gyms, and wellness studios also build salt caves. However, these projects need larger volumes and steady supply. For example, teams planning big installations can compare industrial salt supply for large-volume orders before they commit. Additionally, wellness brands can launch their own line with custom packaging. Meanwhile, US buyers can source Himalayan rock salt products locally for faster delivery. Contact Himalayan Pink Salt to discuss your project.